
We have all heard the horror stories. You decide to upgrade your living room, perhaps to elevate your screen for a new soundbar or to get rid of a bulky media cabinet. You buy a replacement base, cut open the cardboard box, and your heart sinks.
Historically, installing aftermarket TV bases has been a nightmare. Traditional manufacturers were notorious for throwing 60 different screws, washers, and spacers into a single, terrifying plastic bag—often called the “hardware soup.” To make matters worse, they provided flimsy, one-page manuals with confusing 3D diagrams that required a magnifying glass to decipher. It is no wonder people are intimidated by the process.
But here is the good news: the industry has evolved. You no longer have to spend your Saturday frustrated and guessing which screw goes where. If you invest in a modern, well-engineered universal TV stand, the installation process is actually incredibly straightforward, logical, and surprisingly fast.
Forget the old way of doing things. Here is your stress-free, step-by-step guide to installing a modern TV stand the easy way.
Step 1: The “Blister Pack” Advantage
The most intimidating part of mounting a television is figuring out which screws fit the back of your specific screen. Because universal kits must accommodate every major TV brand, they have to include multiple screw sizes (usually M4, M6, and M8).
However, premium modern stands have completely eliminated the “hardware soup” problem. Instead of a mixed bag, your hardware will arrive in a vacuum-sealed blister pack. Every single screw, washer, and spacer is separated into its own small pocket and clearly labeled with a letter or number (e.g., Part A, Part B).
The Action: Lay your TV face-down on a soft, flat surface like a thick blanket. Look at the four threaded holes on the back of your TV (the VESA pattern). Simply take one screw from each labeled pocket and gently hand-thread it into the hole. The one that twists in smoothly without any harsh resistance is the right one. Leave the rest of the clearly labeled screws right in their packaging so you don’t lose them.
Step 2: Attach the Brackets (The Rule of Symmetry)
Now that you know your screw size, it is time to attach the two vertical metal brackets to the back of the TV.
The Action: Place the brackets over the holes. If your TV has a curved back or a protruding speaker bump at the bottom, grab the plastic spacers from your perfectly organized hardware pack. Place the spacers between the TV and the bracket to fill the gap, ensuring the metal arm sits perfectly straight.
To guarantee your TV does not sit crookedly when you are finished, pay attention to the holes on the brackets. If you put the top screw into the third notch down on the left bracket, make sure you use the exact same third notch on the right bracket. Grab your manual Phillips-head screwdriver and tighten them until snug. Do not use a power drill!
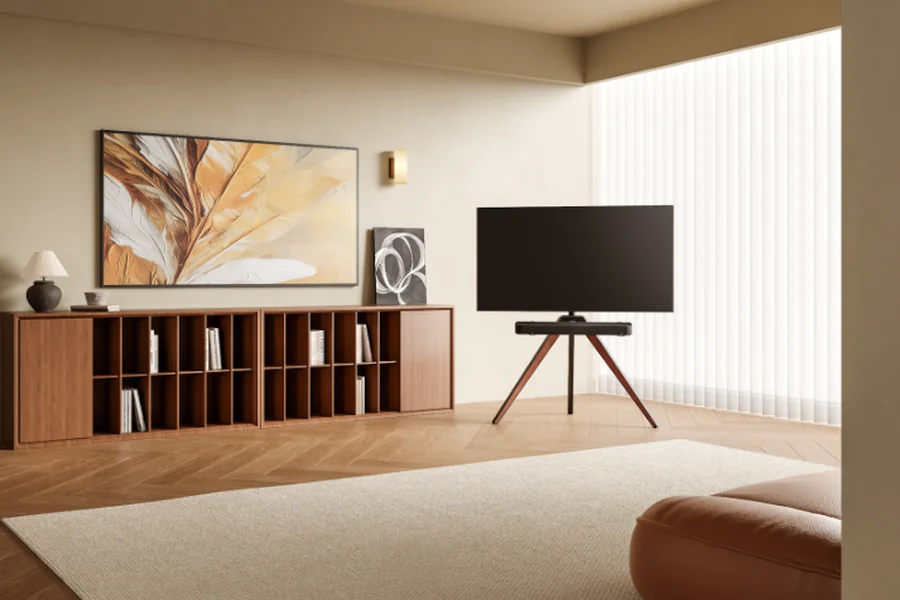
Step 3: Assemble the Base with Clear Instructions
This is where the quality of the brand you purchased truly shines. With cheap stands, assembling the heavy base plate and the central support pillar is a frustrating guessing game of misaligned holes and terrible manuals.
However, leading tech-furniture innovators like FITUEYES have set a new standard for the assembly experience. They precision-machine their steel and tempered glass components so the pieces slot together effortlessly on the first try. More importantly, they provide step-by-step instruction booklets where each visual directly corresponds to the letters on your blister pack.
The Action: Following the clear manual, simply align the central pillar with the base plate. The instructions will tell you exactly which labeled bolts to use. Use the provided Allen wrench to tighten the bolts. Because the parts are engineered to fit perfectly, this core foundation will be rock-solid in less than five minutes.
Step 4: The Two-Person Lift and Safety Lock
You have attached the brackets to the TV, and you have built the pedestal. Now, you just need to bring them together.
The Action: This is strictly a two-person job for safety. Grab a partner, lift the television together, and gently hook the top of the vertical brackets onto the horizontal rail of your newly built stand. You can easily slide the TV left or right along this rail to perfectly center it in your room.
Finally, look at the bottom of the vertical brackets resting on the rail. You will find a set of safety screws or locking latches. Take your screwdriver and tighten these locks. They grip the underside of the rail, guaranteeing that even if a child or pet bumps the television, it cannot bounce up and fall off the stand.
The Takeaway
Upgrading your home entertainment setup does not require an engineering degree or an entire weekend of frustration. By choosing a high-quality stand that values user-friendly design, pre-sorted hardware, and crystal-clear instructions, you can bypass the traditional DIY headache. Follow these four simple steps, lock your screen in place, and get ready to enjoy your perfectly positioned TV.